
I approach mussel preparation as a race against suffocation. The entire sequence revolves around keeping the bivalves alive until the exact moment heat hits the pan. Fresh live mussels should smell briny, mineral, and faintly sweet—closer to seawater than raw fish. Move them out of sealed plastic within 15 to 30 minutes of getting home. If your trip from the fishmonger is longer, use a chilled bag with ice packs that do not leak freshwater onto the shells.
According to local expertise, cook them the same day whenever you can. If necessary, you can hold them for 24 to 48 hours provided they are kept cold, drained, and breathable. Save the debearding for the final 10 to 30 minutes before cooking. Pulling the byssal threads injures the mussel, starting a rapid decline in quality.
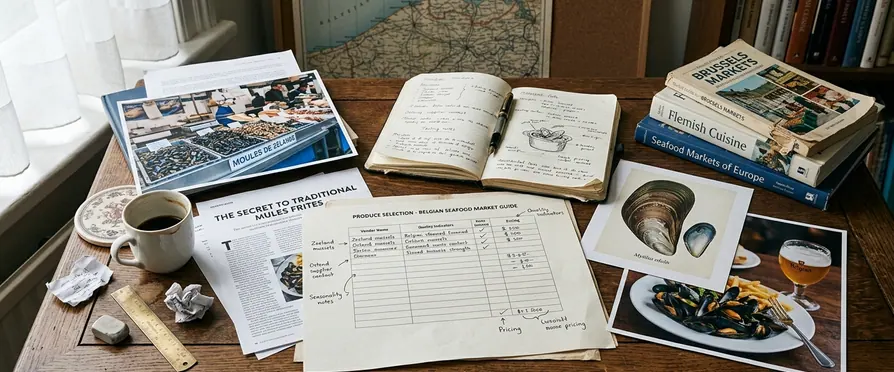
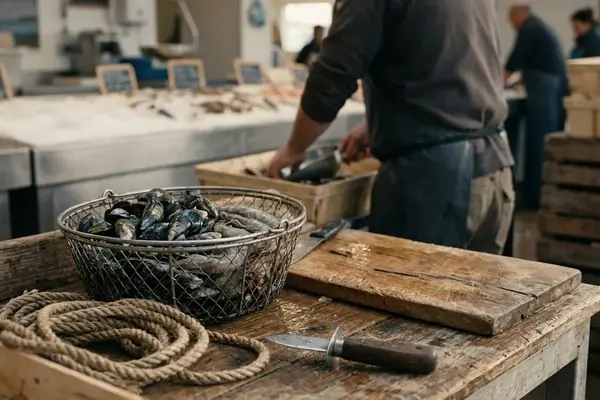
How to Select Live Mussels at the Market
Selection begins with the container rather than the individual mussel. A well-run counter keeps shellfish cold, damp, and ventilated. The batch should look lively before you pick up a single shell. Look for shells that are closed, wet, glossy, and heavy for their size. Dry, chalky shells suggest poor holding rather than premium freshness.
For the tap test, rap an open mussel against the counter or another shell and wait 5 to 10 seconds. A live mussel usually tightens or closes noticeably. Reject mussels with cracked shells, crushed edges, or gaping shells that remain open after tapping. Review the guidelines on selecting and serving fresh seafood to understand baseline standards for retail display.
Ask to see the harvest or dispatch tag. Check the production area, packing or dispatch date, and whether the batch is farmed rope-grown or wild-caught. For Brussels-style Moules Frites, medium mussels in the roughly 5 to 7 cm shell-length range cook evenly in a deep pot. They are easier to eat with fries than very small seed mussels or oversized shells.
Storing Mussels Safely Before Prep
A mussel can pass the tap test at the market and still die during poor home storage if it is sealed in plastic or left sitting in purge liquid. The storage setup must solve two problems at once: mussels need oxygen, but they also dry out quickly.
Remove mussels from plastic bags, net sacks with tight outer wrap, or closed tubs as soon as you arrive home.
- Set a colander or perforated bowl over a deeper bowl.
- Ensure any purge liquid drains at least 2 to 3 cm below the shellfish rather than pooling around them.
- Cover the colander with a clean towel dampened in cold water and wrung until it no longer drips.
- Store this rig with the temperature hovering around 0 to 4°C in the coldest part of the refrigerator.
Avoid the door shelf because temperature swings occur every time it opens. Do not add tap water, ice water, or saltwater mixes for storage. Freshwater kills marine mussels, and homemade brine is not a safe substitute for seawater.
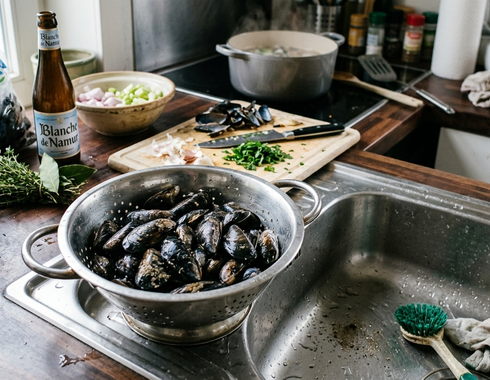
Step-by-Step Cleaning and Rinsing
Cleaning stages progress from least abrasive to most direct. A short cold soak loosens grit. Lifting by hand leaves settled sand behind. Brushing under running water removes shell debris without letting the mussels swallow dirty water.
Use a 15-minute soak in very cold water. This is not a long bath; the goal is to release loose sand, not to keep the mussels alive in a bowl. After soaking, lift the mussels out by hand or with a spider strainer. Leave the last 1 to 2 cm of sandy water in the bottom of the bowl. Scrub each shell under cold running water with a stiff vegetable brush or shellfish brush. Pay attention to hinge creases where grit collects.
Important: Wild-caught bottom-dredged mussels require more brushing and closer mudder checks. Treating them like pre-cleaned farmed mussels leaves sand in the broth.
A mudder often feels noticeably heavier than similar-sized mussels and makes a dull thud rather than a hollow clack when tapped. Discard it without opening at the sink. Rinse cleaned mussels once more for 20 to 30 seconds in a colander immediately before cooking. Rope-grown mussels sold in Brussels-style seafood shops are usually cleaner, but they still need this final rinse because broken shell grit and packing debris cling to the batch.
The Art of Debearding Mussels
I delay debearding until the absolute last moment. The beard is not just dirt; it is the mussel’s anchoring structure. Removing it initiates a countdown to the mussel's death. Debeard in small batches during the final 10 to 30 minutes before the pot goes on the stove.
The beard appears as brown, black, or tan fibrous threads protruding from the shell seam, usually closer to the pointed hinge end than the rounded lip. Grip the beard with your thumb and forefinger. Pinch it through a dry paper towel when the threads are slippery.
Pull sharply toward the hinge, not outward at a right angle. Outward pulling is more likely to rip the meat. If the beard breaks flush with the shell, trim the remaining fibers with kitchen scissors rather than repeatedly yanking the same mussel.
Food Safety Limitations and Final Checks
The final check separates live-product rules from cooked-product rules. Before cooking, treat any mussel that is cracked, floating, foul-smelling, or unresponsive as unsafe. Heat cannot reverse prior spoilage.
Discard raw mussels with broken shells, shells that gape after a 5 to 10 second tap test, or any sour, sulfurous, ammonia-like, or sewage-like odor. Discard floaters found during the short soak, especially if they also feel unusually light or sound hollow.
Cooking and Post-Cook Evaluation
Cook mussels in a covered pot over high heat until most shells open. This commonly takes 5 to 7 minutes for a typical home batch of 1 to 2 kg. Shake or stir the pot once halfway through cooking so mussels at the top contact steam and broth.
Tip: A cooked mussel that stays only slightly closed is not automatically unsafe. Pry it open and judge by smell and texture. Discard any that smell off or look dried-out and shriveled.
One catch: these checks reduce ordinary spoilage risk, but they do not make shellfish safe for people who have been advised to avoid bivalves because of pregnancy, severe immune suppression, advanced liver disease, or a current local shellfish warning. Always verify local advisories if harvesting your own or buying from independent coastal foragers.


Comments
Start the discussion.
Join the Discussion